How To Make - Handmade Paper Invitations With Silk Ribbon And A Wax Seal
How To Make ...
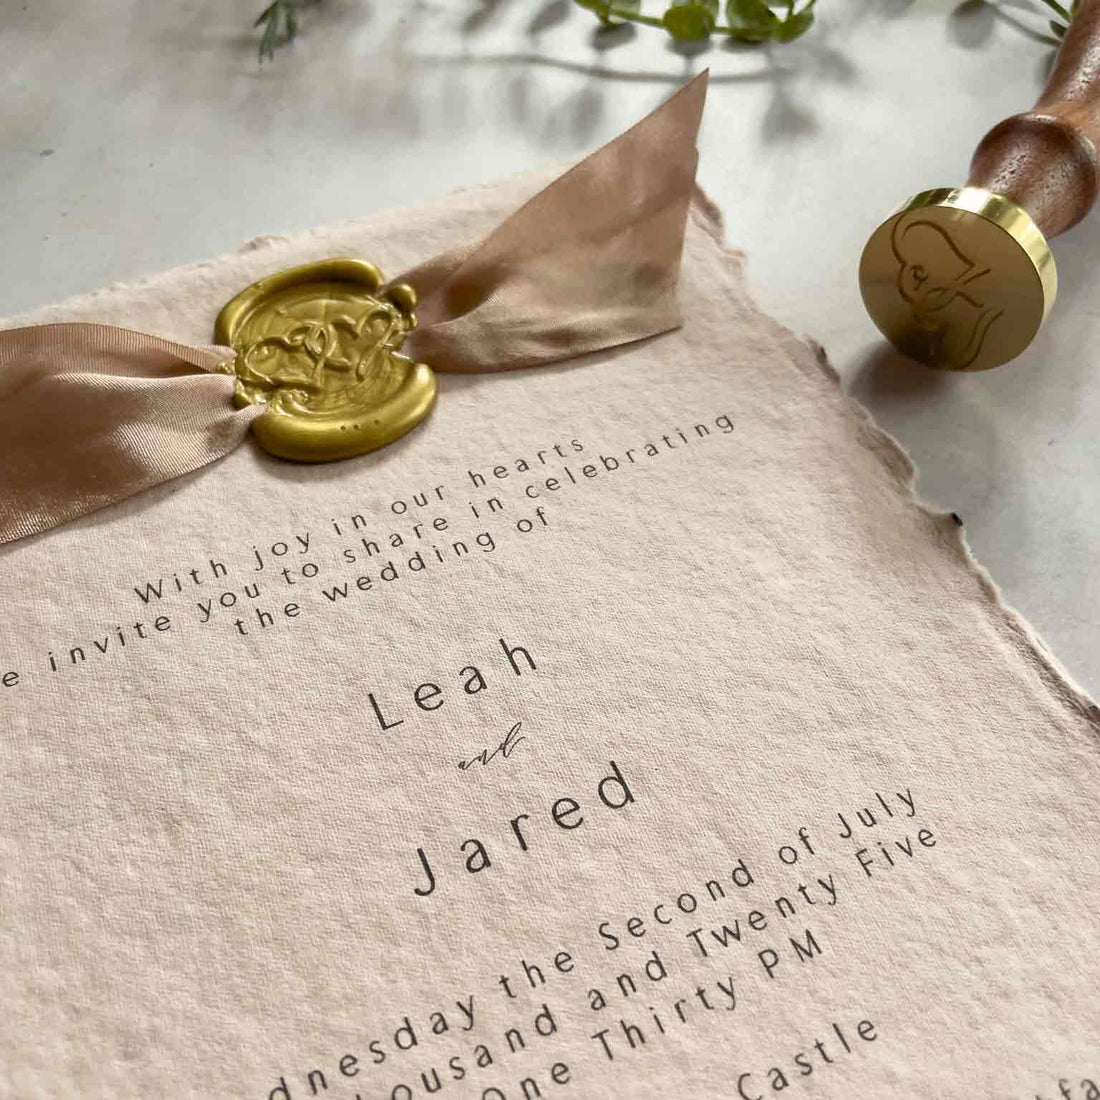
Handmade Paper Invitations With Silk Ribbon on A Wax Seal
The combination of handmade cotton rag paper, silk ribbon and a wax seal is hard to beat. When used on an invitation, the results are really striking. This beautiful wedding invitation is really easy to make yourself. If you'd like to give it a go yourself, I'll show you how. Just read on.
For Each Invitation You Will Need:
- 1 x sheet of 5 x 7 Handmade Cotton Rag Card in your choice of colour
- 15cm of Closed Edge Silk Ribbon in your choice of colour
- 1/6 of a Sealing Wax Stick in your choice of colour
- A Wax Stamp of your choice (you could also order a bespoke one just for you)
You will also need:
- A hole punch
- A Scissors
- A Wax Seal Gun
TIP - You can also use a wax melting spoon with beads or a stick.

Instructions:
If you'd like a brief overview of how these invitations are made, we've put together a short video to help you out. Or for the full instructions, please read on.
- Print your wording onto handmade cotton rag card. (An inkjet printer works much better than a laser printer for this)

- Use a hole punch to punch 2 holes in the top centre of the card. The holes need to be appx. 2cm from the top and appx. 1cm apart.

- Starting from the back and pushing towards the front of the invitation, thread one end of the ribbon through one of the holes you just punched.

- Now you need to push the loose end of the ribbon through the remaining hole so that both ends are at the front of the invitation.

- Before adding your wax seal, you need to adjust the position of your ribbon so that the wax seal sits nicely and you have enough ribbon both sides to cut the ends neatly.

- Carefully hold you ribbon in place. Pour the wax into the centre of the ribbon and around the edges in a rough circle shape. You will need to use more wax than normal so don't be too stingy.

- Press your stamp onto the warm wax and leave it in place while the wax cools. As the wax is cooling, use a sharp scissors to trim both ends of the silk ribbon. It looks nice when the ribbon is trimmed at an angle.
(Note - You will need to use a better scissors that I did in the video!)

- Finally, when the wax is cooled, remove the stamp to reveal your finished invitation.


Why not give it a go yourself? I'd love to see what you make.
Written by Leah Lewis @ The Natural Paper Company

